In my ongoing quest for digital sovereignty, I recently replaced Tailscale with a plain WireGuard setup that I control myself. No third-party control plane, no extra SaaS layer, no mystery glue in the middle. Just WireGuard, config files, and a layout that fits what I actually need.
I did briefly try Headscale first. It is not a bad project, but I bounced off it fairly quickly. For my use case, it felt too convoluted and over-engineered. I did not need a whole management layer. I did not want more moving parts, more admin overhead, or another thing to debug when I could just define some peers, set the routes properly, and get on with my life. WireGuard on its own is much closer to what I wanted: simple, transparent, and boring in a good way.
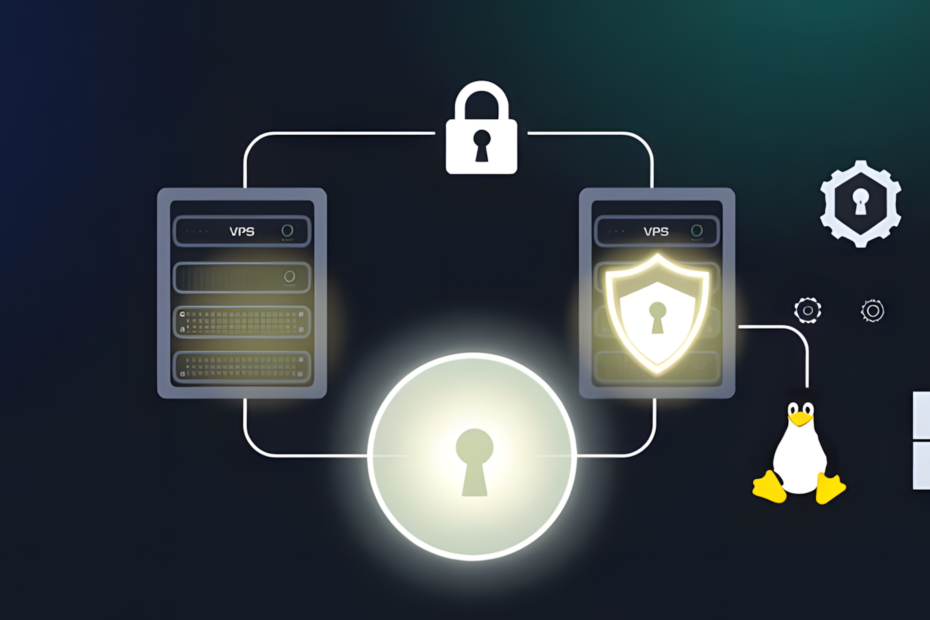
The setup itself uses two VPSes.
VPS1 is my web-facing server. It handles the public side of things. VPS2 is the VPN hub. At first glance, that probably looks unnecessary. Strictly speaking, it is unnecessary. I could have crammed WireGuard onto VPS1 and called it done. But splitting the roles makes the whole thing cleaner.
One machine serves public traffic. The other handles VPN duties. That means fewer networking compromises, fewer chances of Docker or firewall rules becoming annoying, and a clearer separation between the public-facing stack and the private tunnel. It also means I can change one side without poking the other with a stick and hoping nothing catches fire.
The important point, though, is what this VPN is actually for.
This is not my default route for all home internet traffic. I am not tunnelling all day-to-day browsing from the house through a VPS. Normal browsing at home stays local, and I already have AdGuard Home in place there for DNS filtering. That works perfectly well, so there is no reason to shove ordinary household traffic through a remote server just because I can.
The primary reason for this setup is to let VPS1 securely reach services in my home lab without opening ports on my home connection. That is the real win, and it is worth explaining how it actually works.
VPS1 runs Nginx Proxy Manager. When a request comes in for one of my self-hosted services, Nginx Proxy Manager does not serve it locally. Instead, it forwards the request over the WireGuard tunnel to a dedicated internal server in my home lab. That server acts as a routing point, receiving the proxied traffic and directing it to whichever service is being requested, whether that is a VM, a container, or something else running on the LAN. The response travels back the same way: through the tunnel, back to VPS1, and out to the client.
From the outside, it looks like a perfectly ordinary web request hitting a VPS. From the inside, the actual service is sitting safely at home, never directly exposed to the internet. No port forwarding on my home router. No inbound connections punching through the firewall. The tunnel does the work, and the home network stays closed.
That is the architecture that makes this worthwhile. The VPN is not just a privacy tool here. It is the plumbing that makes self-hosting from home practical without the usual compromises.
The secondary use is mobile access. If I am out and about on public Wi-Fi, I can enable the VPN on my phone and send traffic through it. That gives me a safer path when I actually need one, rather than permanently routing everything through the tunnel for the sake of it. It is selective, which I prefer.
Privacy-wise, this arrangement makes sense to me.
At home, my ISP sees an ordinary residential connection. When the tunnel is in use, they see encrypted WireGuard traffic rather than the underlying application traffic or DNS queries. The VPS provider, meanwhile, sees traffic associated with a server in a datacentre rather than activity tied directly to my home connection. That is not perfect privacy, and I am not pretending otherwise, but it is a better boundary than handing metadata to a third-party VPN service.
DNS is another useful part of this design.
I already use AdGuard Home locally for normal home traffic. Separately, I also have AdGuard running on the VPS side. That remote instance handles DNS for my phone via custom DNS settings, and it fits neatly with the VPN setup when mobile devices are on the tunnel. The result is fairly practical: local DNS stays local when I am at home, and I still have a privacy-respecting option when I am away or on untrusted networks.
That split is worth spelling out because it is easy to assume a setup like this is trying to force everything into one giant tunnel. Mine is not. It is doing two specific jobs:
- giving my web VPS private access to home-hosted services without port forwarding
- giving mobile devices a safer route when on untrusted networks
No grand unified networking doctrine. No needlessly complicated mesh for the sake of saying I built one. Just a setup that solves the problems I actually have.
Technically, the layout is closer to hub-and-spoke than a true mesh. VPS2 acts as the central WireGuard point, VPS1 joins it, and the home lab joins it as a routed peer. That is enough to let the web-facing VPS reach back into the home lab, and enough to let mobile clients connect when needed. Simple beats clever here.
In the end, that is why I moved away from Tailscale and why Headscale did not last long in my lab either. I was not looking for a bigger platform. I was looking for straightforward private connectivity under my own control. WireGuard gave me that with less fuss, fewer abstractions, and far less of that creeping feeling that I had built a small control plane just to reach a few machines.
It is not flashy, but it does the job. More importantly, it does the job on my terms.
Configuration Snippet: The Web Server Connect
For anyone looking to replicate this, here is a simplified version of the WireGuard configuration on VPS1. This is what allows the web-facing server to talk to the VPN hub and reach the home lab network behind it.
[Interface]
PrivateKey = <VPS1_Private_Key>
Address = 10.200.0.2/24

# VPN Hub (VPS2)
[Peer]
PublicKey = <VPS2_Public_Key>
Endpoint = <VPS2_Public_IP>:51820
AllowedIPs = 10.200.0.0/24, 192.168.0.0/24
PersistentKeepalive = 25
The config itself is the easy part. To make it actually work, a few other things need to be in place.
IP forwarding must be enabled on both VPS2 and the home routing server. Without it, packets arrive at the tunnel endpoint and go nowhere. On any Debian-based system, that is a one-liner:
echo "net.ipv4.ip_forward=1" >> /etc/sysctl.conf && sysctl -p
Firewall rules need to permit WireGuard traffic on UDP port 51820 and allow forwarding between interfaces. If you are using ufw, that means explicitly allowing the port and ensuring the forwarding policy is not set to DROP.
The home routing server needs to know how to handle traffic arriving from the VPN subnet and direct it to the correct internal service. In my case, that is a dedicated machine on the LAN. Nginx Proxy Manager on VPS1 sends the request over the tunnel, the home routing server receives it and passes it to whichever service is being requested, and the response comes back the same way.
None of this is especially complicated, but skipping any one of these steps will leave you staring at a tunnel that looks healthy and does absolutely nothing useful.